

How to Stain Wood Cabinets: An Easy to Follow Guide

by Gary Wade • February 06, 2024
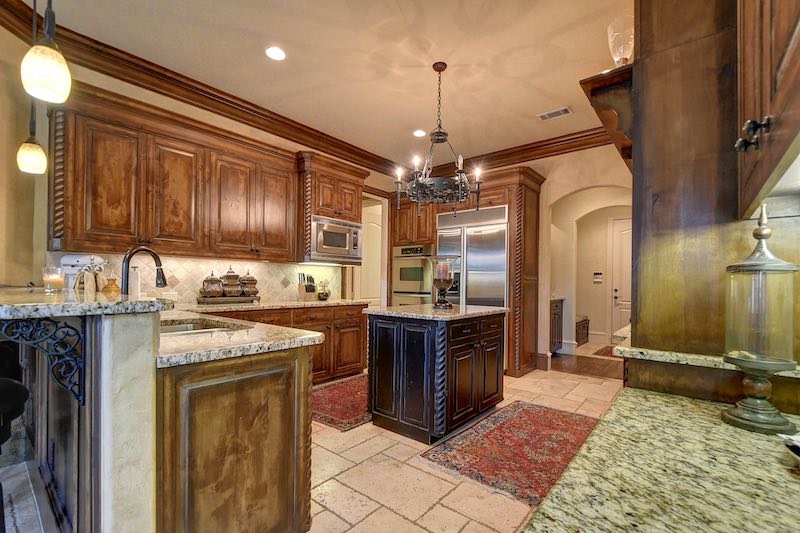
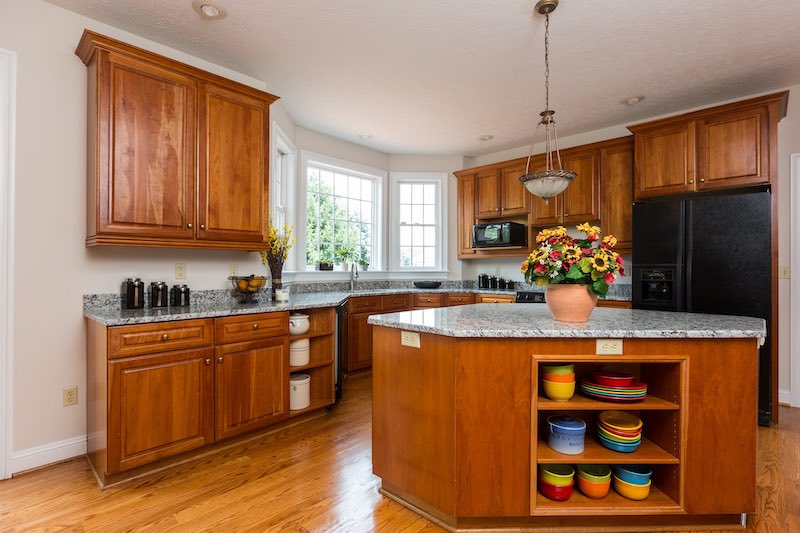
Wood cabinets can add warmth and character to any kitchen or bathroom. If you're looking to update the look of your cabinets without the expense of replacing them, staining is a great option. Staining wood cabinets allows you to enhance the natural beauty of the wood while giving it a fresh, new look. In this comprehensive guide, we'll take you through the step-by-step process of how to stain wood cabinets, from preparation to the final finish.
Preparing for Staining
Before you begin staining your wood cabinets, it's important to properly prepare the surface. This will ensure that the stain adheres evenly and lasts for years to come. Here are the essential steps to take:
Removing Hardware and Protecting Surfaces
Start by removing all hardware, including hinges and knobs, from the cabinet doors. Place them in a labeled container to keep them organized. Next, protect the surrounding surfaces by covering countertops, floors, and appliances with drop cloths or plastic sheets. This will prevent any accidental staining or damage.
Cleaning the Cabinets
To achieve a smooth and even finish, thoroughly clean the cabinets. Use a mild detergent and warm water to remove any grease or grime. For unfinished wood cabinets, cleaning is especially important as it prepares the surface for staining. Wipe down the cabinets with a clean cloth and rinse with plain water to remove any soap residue. Allow the cabinets to dry completely before proceeding.
Removing the Existing Finish (if necessary)
If your cabinets have an existing finish, such as paint or stain, it's essential to remove it before applying the new stain. There are two methods you can choose from: chemical stripping or sanding.
Chemical Stripping
Chemical strippers are effective in removing the existing finish from wood cabinets. However, it's important to follow the manufacturer's instructions and take the necessary safety precautions, such as wearing gloves and working in a well-ventilated area. Apply the stripper according to the instructions, allowing it to sit for the recommended time. Then, use a paint scraper to remove the old finish, working in the direction of the wood grain. Repeat the process if necessary to ensure all traces of the existing finish are removed. This is the preferred method if you plan to re-stain your cabinets and a detailed cabinet door style.
If you prefer not to use a chemical stripper, sanding is an alternative method for removing the existing finish. Start with a coarse-grit sandpaper, such as 80 to 120-grit, and sand the cabinets in the direction of the wood grain. This will help smooth out any imperfections and prepare the surface for staining. This method will work for a shaker or slab style cabinet doors as well but if you have a more detailed door style you might want to consider replacing the doors and drawer fronts for a consistent finish that matches the cabinet boxes. Or revert to using a chemical stripper for the doors. Once the existing finish is removed, switch to a finer-grit sandpaper, such as 150 to 220-grit, to achieve a smooth and even surface. After sanding, wipe off any sanding dust with a clean rag.

How to Stain Wood Cabinets
With the cabinets properly prepared, it's time to apply the stain. This is where you can bring out the natural beauty of the wood and achieve the desired color tone. Follow these steps to ensure a successful staining process:
Applying Pre-Stain Wood Conditioner
Before applying the stain, it's recommended to use a pre-stain wood conditioner. This helps the wood absorb the stain more evenly and reduces blotching. Using a paintbrush, apply a thin layer of wood conditioner to all the wood surfaces you plan to stain. Allow the conditioner to dry according to the manufacturer's instructions.
Choosing and Applying the Stain
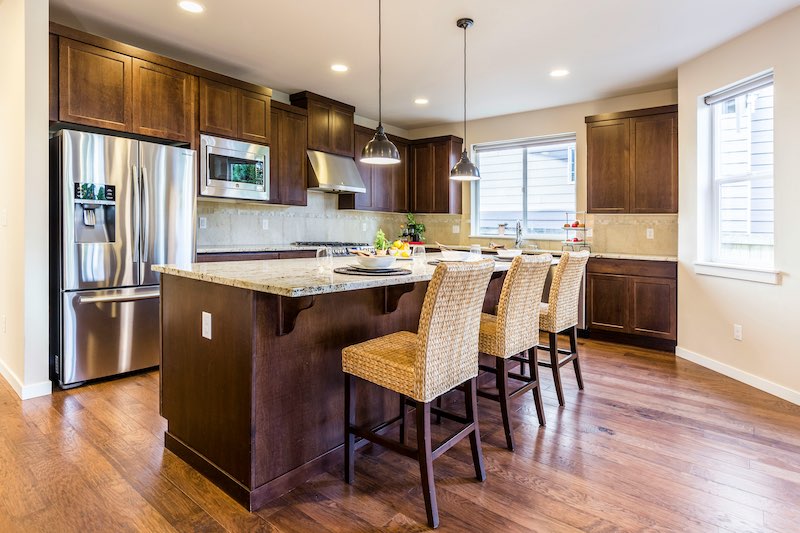
When selecting a stain, consider the color tone you want to achieve and the type of wood you're working with. Lighter stains allow the natural wood grain to show through, while darker stains provide a more dramatic look. Test the stain on a small, inconspicuous area to ensure you're happy with the color before proceeding.
Once you've chosen the stain, apply it using a foam paintbrush or a clean, soft rag. Work in the direction of the wood grain, applying a thin and even coat. Allow the stain to penetrate the wood for the recommended time, typically 5-15 minutes, or as instructed on the stain container. Wipe off any excess stain with a soft rag, following the wood grain. If you desire a darker color, you can apply a second coat of stain after the recommended drying time.
Applying a Protective Finish
To protect the stained wood and enhance its durability, it's important to apply a protective finish. Polyurethane sealer is commonly used for this purpose. Using a clean paintbrush, apply a thin coat of polyurethane sealer to all the stained surfaces. Follow the manufacturer's instructions for drying times between coats. After the first coat has dried, lightly sand the cabinets with 220-grit sandpaper to ensure an even finish. Apply a second coat of sealer and let it dry completely.
Finishing Touches
With the cabinets stained and sealed, it's time to reassemble and admire your newly transformed wood cabinets. Follow these final steps to complete the process:
Reattaching Hardware
Once the cabinets are fully dried, reattach the hardware, including hinges, knobs, and pulls. Use a screwdriver to securely fasten them in place. If you prefer, you can also take this opportunity to update your hardware with new options that complement the stained wood cabinets.
Cleaning Up
Before you can fully enjoy your newly-stained cabinets, be sure to clean up any remaining dust or debris. Remove any drop cloths or plastic sheets and dispose of them properly. Wipe down the surrounding surfaces to remove any stray stain or sealer.
Admire Your Stained Wood Cabinets
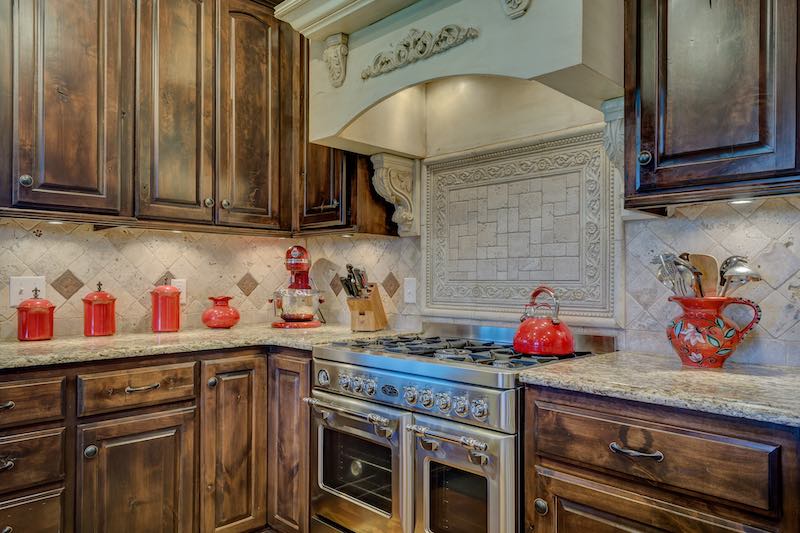
Step back and take in the beauty of your freshly stained wood cabinets. Notice how the color enhances the natural grain and brings new life to your kitchen or bathroom. Enjoy the warmth and character that wood cabinets can bring to your space.
Cabinet Staining
Staining wood cabinets is a rewarding and cost-effective way to update the look of your kitchen or bathroom. By following the how to stain wood cabinets step-by-step guide outlined in this article, you can achieve professional-quality results without the need for a contractor.
Remember to properly prepare the cabinets, choose the right stain, and apply a protective finish for long-lasting beauty. With a little time and effort, you can transform your wood cabinets into a focal point of your home.