

How to Remove Kitchen Cabinets Without Damaging Walls: A Step-by-Step Guide

by Gary Wade • September 05, 2023
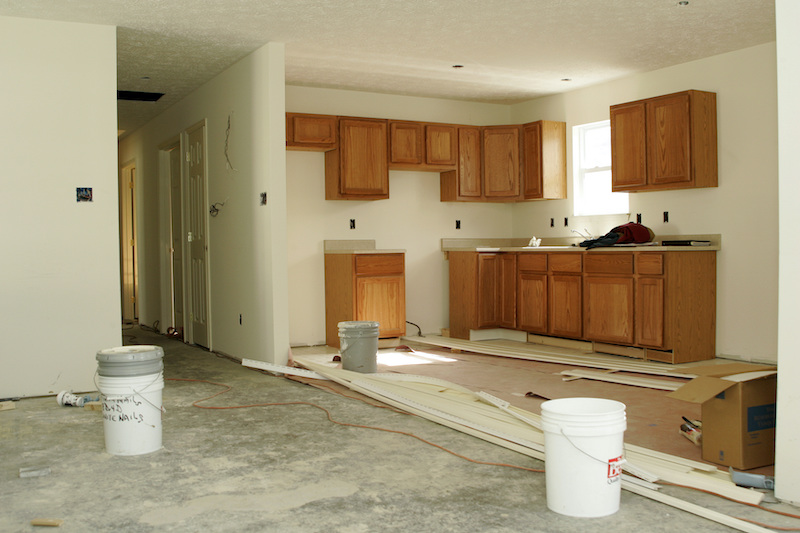
Kitchen renovations and upgrades are often exciting projects that yield stunning results. One of the most critical steps in any kitchen upgrade is the removal of existing cabinets. Removing kitchen cabinets can be a daunting task, but with the right tools, materials, and a little know-how, it can be accomplished effortlessly.
Before getting started, it's important to consider the potential damage to your walls. When removing kitchen cabinets, it's vital to exercise caution to avoid causing physical and structural damage to your walls and floors. Here's a comprehensive guide on how to remove kitchen cabinets safely, without damaging your walls.
Why Remove Kitchen Cabinets?
Before we delve into the detailed steps of removing kitchen cabinets, it's crucial to understand the various scenarios in which you might want to undertake this task. Here are the primary reasons:
1. Renovation and Redesign
Many homeowners choose to remove their kitchen cabinets as part of a broader renovation or redesign project. This could involve altering the kitchen layout, installing new cabinets, adding additional appliances, or simply updating the overall aesthetic of the space.
2. Repairs and Maintenance
In some cases, unexpected issues like water damage, mold growth, or structural problems may necessitate the removal of kitchen cabinets. Removing them provides access to the wall behind, allowing for the assessment and repair of underlying issues.
3. Upgrading or Modernization
Kitchen trends evolve over time, and you might want to upgrade your kitchen's look and functionality. Removing existing cabinets is often the first step in creating an open, airy feel, or making space for larger, more modern or unfinished kitchen cabinets.
Having explored the motivations behind removing kitchen cabinets, let's now dive into the comprehensive guide on how to tackle this task like a pro.
Step-by-Step Guide to Removing Kitchen Cabinets Without Damaging Walls
Step 1: Gather Materials and Tools Needed
- Safety glasses to protect your eyes from debris and dust
- Gloves to protect your hands from sharp edges and edges that can be slippery
- A Phillips head screwdriver or power driver to remove cabinet screws
- A hammer in case of any unforeseen issues
- A utility knife for cutting caulk lines
- A pry bar to carefully remove the cabinets from the walls
- A drop cloth to protect your floors and countertops
- A marker and masking tape for labeling locations and cabinet parts
Step 2: Clear the Countertops
The first step is always to clear the countertops to allow for more space to work around. Protecting the countertop with a drop cloth is also recommended to prevent any damage if any tools drop during the removal process.
Step 3: Remove the Cabinet Doors
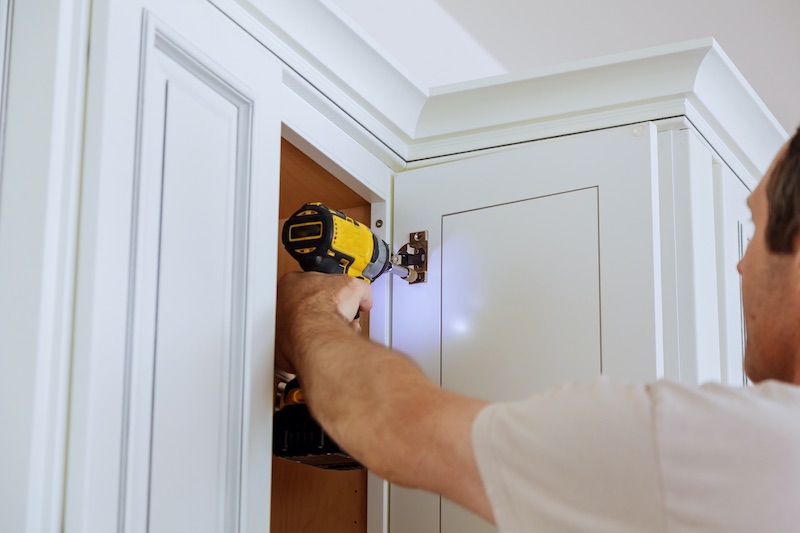
Removing the cabinet doors and hardware is the easiest step in the process. Start by removing all screws that keep the doors
attached to the cabinet. Use a screwdriver or power drill to remove them.
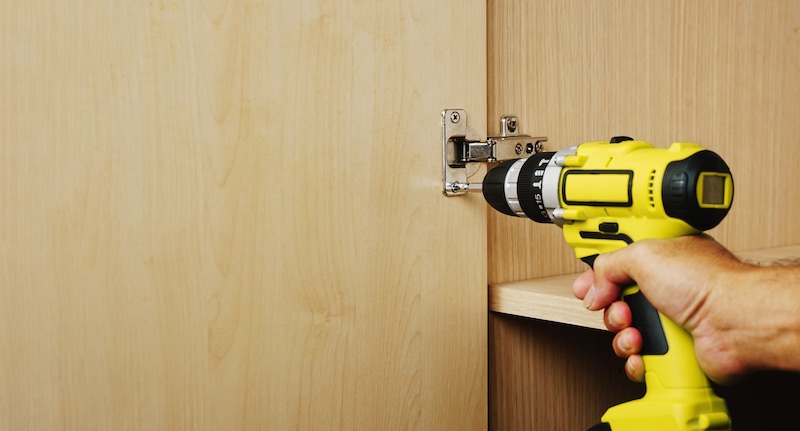
- Unscrew the Hinges: Using your screwdriver, carefully remove the screws that attach the cabinet doors to the frames. Be sure to keep track of these screws, as you'll need them for reassembly.
- Lift Off the Doors: Once the hinges are detached, gently lift the cabinet doors off the cabinets. For larger or heavier doors, consider having an extra pair of hands to assist you safely.
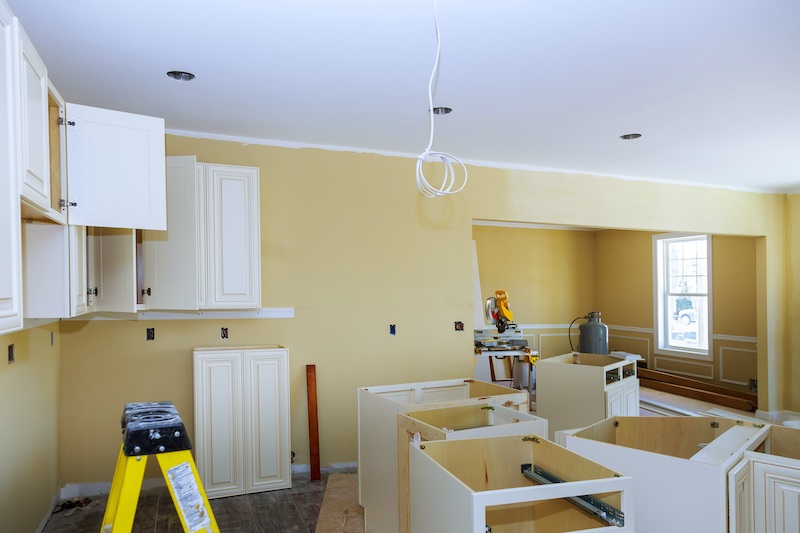
Step 4: Remove the Cabinet Frames
The cabinet frames are usually secured to the wall with screws or nails. To remove them:
- Locate the Fasteners: Inspect the cabinet frames closely to identify the screws or nails that connect them to the wall. These are often concealed behind the frame or trim.
- Loosen the Fasteners: Using your screwdriver or pry bar, carefully loosen the screws or nails holding the frames in place. Take your time to avoid causing damage to the wall or the cabinets themselves.
- Lift the Frames: Once all fasteners are removed, gently lift the cabinet frames off the wall. For larger cabinets, having a partner to help with this step is advisable.
The key here is to take your time and maintain control throughout the kitchen cabinet removal process.
Step 5: Patch the Screw Holes
After the removal of the cabinets, carefully patch any holes left from where they were attached to the walls. First, remove any screw left behind, and patch the hole using a drywall patch or spackle.

Step 6: Dispose of the Old Cabinets
Once you've successfully removed all the cabinet components, you have several options for disposal:
- Recycling: If you're environmentally conscious, consider recycling materials like wood and metal. Check with your local recycling center for specific guidelines on cabinet disposal.
- Donation: Donating old cabinets is a wonderful way to extend their lifespan and assist those in need. Numerous organizations and charities accept gently used building materials.
- Proper Disposal: If your cabinets are no longer usable, dispose of them in accordance with your local waste disposal regulations. Be sure to follow any guidelines or restrictions in your area.
Tips for a Smooth Removal Process
To make your cabinet removal project even smoother, here are some additional tips
1. Plan Ahead
Before you begin, have a clear plan for how you'll utilize the space once the cabinets are removed. Are you installing new cabinets immediately, or do you need to prepare the wall for other purposes
2. Label Everything
As you disassemble the cabinets, use masking tape and a marker to label each piece. This simple step will greatly facilitate the reassembly process.
3. Protect Your Flooring
Place a drop cloth on the floor beneath your work area to safeguard it from dust, debris, and potential damage during the removal process.
4. Prioritize Safety
Always prioritize safety. Wear safety glasses and gloves to shield yourself from potential injuries during the removal process. If you're working with particularly heavy cabinets, consider using a back brace for additional support.
In Conclusion
Knowing how to remove kitchen cabinets is a valuable skill for anyone looking to undertake a kitchen renovation or upgrade. By following the steps outlined in this comprehensive guide and adhering to safety precautions, you can successfully remove your kitchen cabinets with confidence.
So, roll up your sleeves, gather your tools, and get ready to transform your kitchen space. Whether you're renovating, repairing, or upgrading, removing cabinets is the first step toward achieving the kitchen of your dreams. Good luck with your project!